Acurite Weather Station Installation Guide
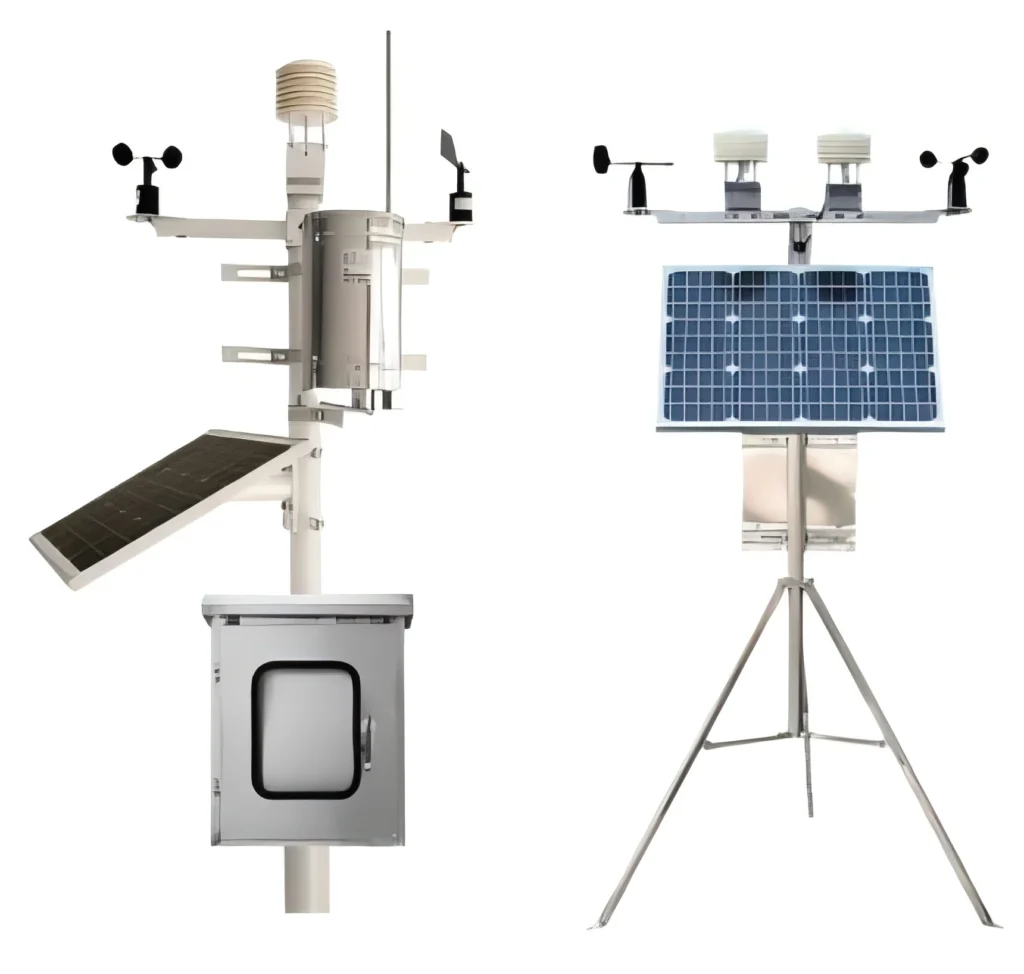
# Acurite Weather Station Installation Guide
Installing an Acurite weather station can be a rewarding experience, providing you with accurate and real-time weather data right from your backyard. Whether you’re a weather enthusiast or simply want to keep track of local conditions, this guide will walk you through the installation process step by step.
## Step 1: Unbox and Inspect Your Acurite Weather Station
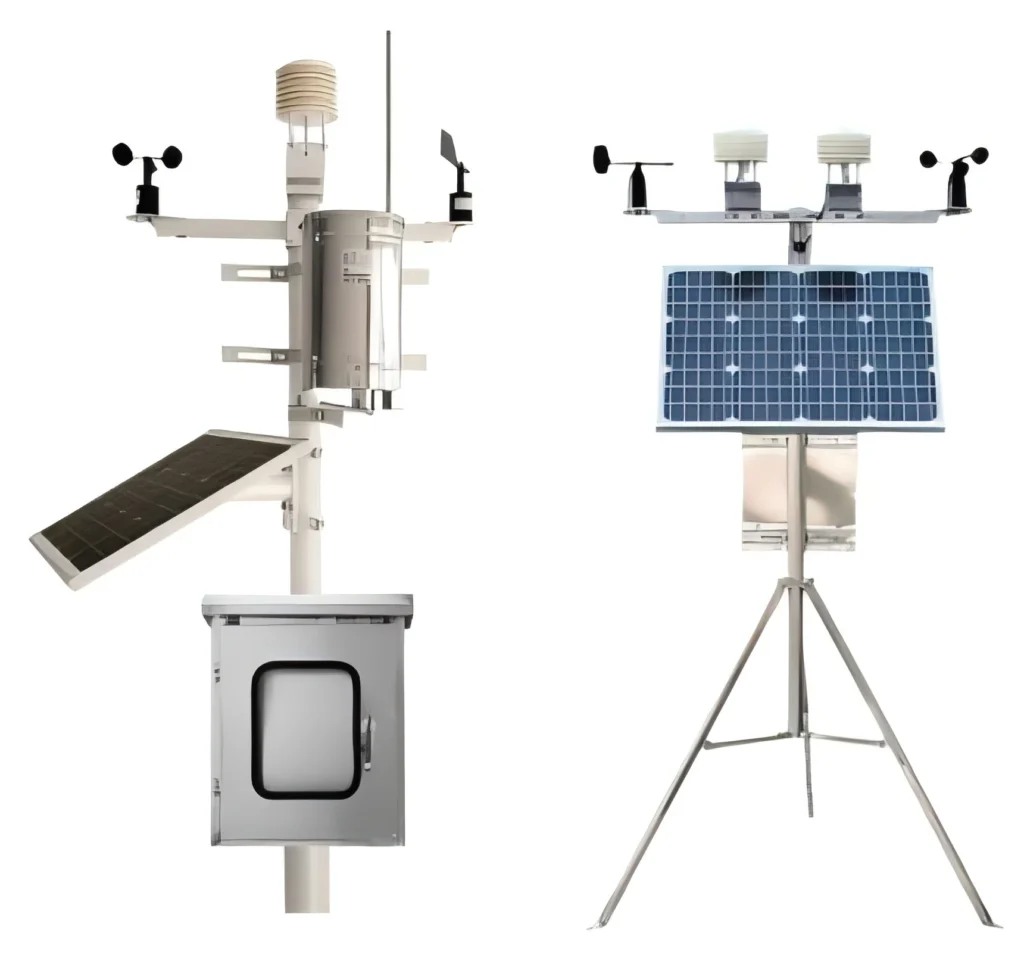
Before you begin, carefully unbox your Acurite weather station and inspect all components. Ensure that you have the following items:
– Display console
– Outdoor sensor(s)
– Mounting hardware
– User manual
– Batteries (if not pre-installed)
## Step 2: Choose the Right Location
Selecting the right location for your outdoor sensor is crucial for accurate readings. Follow these guidelines:
– Place the sensor at least 5 feet above the ground.
– Avoid placing it near heat sources, such as air conditioners or vents.
– Ensure it’s away from obstructions like trees or buildings that could block wind or rain.
– Position it in an open area for optimal wind and rain detection.
## Step 3: Install the Outdoor Sensor
Once you’ve chosen the perfect spot, it’s time to install the outdoor sensor:
– Mount the sensor using the provided hardware. Ensure it’s securely attached to a stable surface.
– Insert the required batteries into the sensor. Make sure they are properly aligned.
– Power on the sensor and wait for it to initialize.
## Step 4: Set Up the Display Console
Next, set up your display console indoors:
– Place the console in a convenient location, such as a table or wall mount.
– Insert the necessary batteries or plug it into a power outlet.
– Power on the console and follow the on-screen instructions to sync it with the outdoor sensor.
## Step 5: Calibrate and Test Your Weather Station
After installation, it’s important to calibrate and test your weather station:
– Compare the readings with local weather reports to ensure accuracy.
– Adjust any settings on the console, such as time, date, or units of measurement.
– Monitor the station for a few days to confirm consistent and reliable data.
## Troubleshooting Tips
If you encounter any issues during installation, consider the following tips:
– Ensure the sensor and console are within the recommended range (typically 330 feet).
– Check for interference from electronic devices or metal structures.
– Replace batteries if the sensor or console is not powering on.
– Consult the user manual for specific troubleshooting steps.
## Conclusion
By following this Acurite weather station installation guide, you’ll be well on your way to enjoying accurate and reliable weather data. Remember to periodically check and maintain your station to ensure it continues to function optimally. Happy weather tracking!
Keyword: acurite weather station installation
